
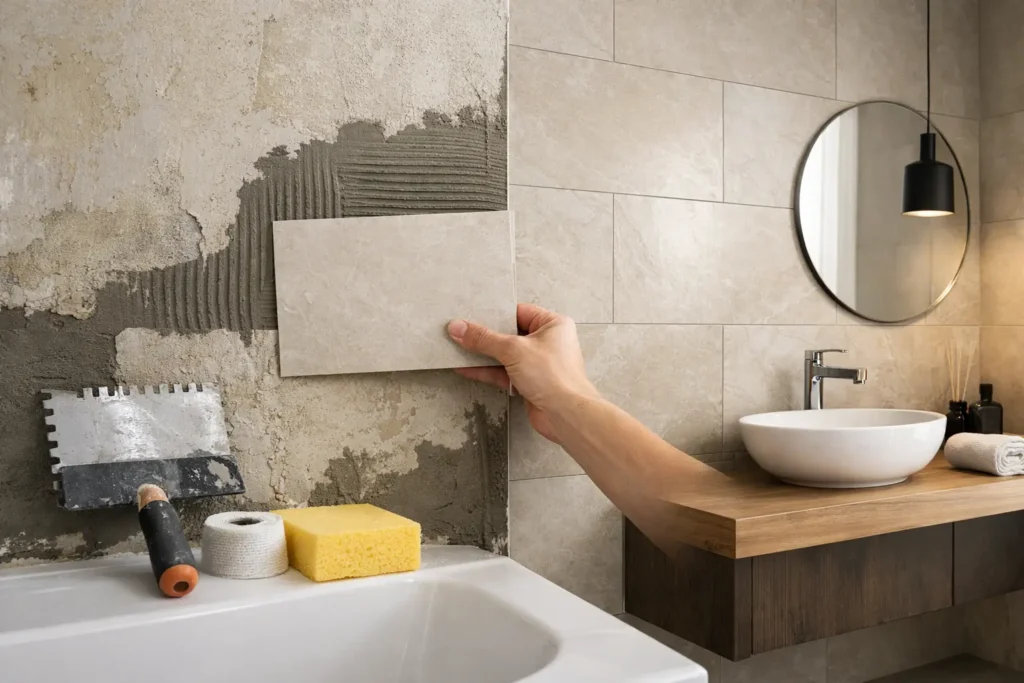
A tired shower surround rarely needs more accessories. It needs a better surface. Learning how to upgrade bathroom walls seamlessly starts with choosing a finish that removes visual clutter while standing up to steam, splashes and daily use. For design-led bathrooms, resin wall finishes create a calm, continuous backdrop with colour, texture and character built into the surface itself.
Unlike a conventional tiled wall, a resin finish has no grid of grout joints competing with the rest of the room. That creates a more expansive feel, particularly in compact en suites, cloakrooms and loft bathrooms where every line is visible. The result can be quiet and minimal, richly tonal, concrete-inspired or softly marbled – the finish should follow the architecture of the space, not a passing trend.
Start with the wall condition, not the colour
The most beautiful wall finish will only perform as well as the substrate beneath it. Before choosing a decorative system, assess what is already on the wall. Sound plaster, cement board and properly prepared existing tiles can all be suitable in the right circumstances, but loose tiles, movement, damp damage and crumbling plaster need to be resolved first.
Bathrooms are demanding environments. Heat, moisture and shifts in temperature can expose weak preparation quickly, so this is not the place to cover over a problem and hope for the best. In shower areas, the wall construction must be appropriately waterproofed before the decorative finish is applied. Resin can form a highly water-resistant surface, but it should be part of a properly specified bathroom system rather than a substitute for correcting failed substrates.
An experienced installer will look at junctions around shower trays, baths, niches, pipe penetrations and windows as closely as they look at the main wall. These are the places where precision matters most. A continuous visual finish depends on careful detailing at every edge.
Choose the right resin finish for the room
Resin is not one fixed look. Its strength is the ability to craft a surface around the atmosphere you want to create, whether that is warm and understated or deliberately expressive.
A concrete-effect finish brings depth and architectural restraint to contemporary bathrooms. It works particularly well with brushed brass, black brassware, timber vanities and sculptural lighting. For a softer setting, a fine terrazzo-inspired resin overlay can introduce movement and colour without the busy repetition of patterned tiles. Metallic and pearlescent effects offer more drama, catching light across a feature wall behind a freestanding bath or vanity.
The practical choice depends on where the finish will sit. A statement wall outside the splash zone allows more freedom with texture and movement. Shower walls demand a system designed for regular water exposure, with a finish that remains easy to clean and is properly sealed. A gentle texture may give a handcrafted quality, but very heavily textured surfaces can hold soap residue and need more attention in a hard-working family bathroom.
Colour deserves the same consideration. Pale mineral tones can make a narrow room feel lighter, while deep charcoal, clay or forest green can give a larger bathroom a more intimate, hotel-like character. Requesting samples is worthwhile because resin responds to natural light, spotlights and surrounding materials differently throughout the day.
How to upgrade bathroom walls seamlessly with resin
A high-quality installation is a sequence of controlled stages, not a quick coating job. The exact method varies according to the selected system and existing walls, but the principle remains consistent: prepare carefully, build the surface evenly and allow every layer to cure properly.
First, the wall is cleaned, repaired and stabilised. Any cracks or imperfections are addressed, and edges are protected to keep the work crisp. Where tile is being overlaid, each tile must be firmly bonded and the joints levelled so they do not telegraph through the finished surface. This can be a practical route to renovation because it may reduce demolition, but it is only suitable when the tiles and background are genuinely sound.
Next comes priming and base preparation. This stage creates the foundation for adhesion and helps achieve an even visual result. Depending on the desired effect, the decorative resin layers may be trowelled, rolled or worked by hand to create subtle variation. That artisanal process is one reason no two resin walls are identical. A sample can establish the intended direction, while the installed surface retains its own depth and movement.
Once the design layers have cured, a protective topcoat is applied. In bathroom settings, this is fundamental to stain resistance, cleanability and long-term appearance. The wall then needs sufficient curing time before it is exposed to moisture, cleaning products or normal use. Rushing this final period is a false economy.
Design around the whole bathroom
The best wall upgrades do more than replace an old finish. They organise the room. A continuous surface behind a vanity can make wall-hung furniture appear lighter. Taking the same finish into a recessed shelf can turn storage into a considered design feature. Extending it around a bath can create a strong visual frame without adding another material or colour.
That does not mean every surface needs to match. Contrast is often what gives a bathroom personality. Pair a resin feature wall with porcelain on the floor, fluted timber on a vanity front or natural stone on a basin shelf. The key is to coordinate undertones. A cool grey concrete effect can feel disconnected beside warm cream tiles, whereas a grey with a soft taupe undertone may bring the scheme together.
For small bathrooms, keep the number of finishes disciplined. One resin wall treatment, one floor material and carefully chosen brassware can feel far more luxurious than several competing tile patterns. In generous spaces, a bolder resin wall can carry the room, especially when balanced by quieter surfaces elsewhere.
Plan for maintenance and everyday life
A resin wall is valued not just for its appearance but for its practicality. Without grout lines, there are fewer places for discolouration to build up and routine cleaning is straightforward. Usually, a soft cloth or non-abrasive sponge with a pH-neutral cleaner is enough. Avoid harsh bleach, abrasive powders and scouring pads, which can dull or damage a protective finish over time.
Ventilation still matters. Even a well-specified bathroom surface benefits from an extractor fan, sensible heating and wiping down heavy condensation where necessary. These habits protect fittings, joinery and ceilings as much as the wall finish itself.
It is also wise to think ahead about accessories. Shower screens, mirrors, shelves and towel rails should be planned before installation so fixing points can be considered correctly. Drilling into a finished wall later is possible in some situations, but it must be done with care and appropriately sealed to maintain the integrity of a wet-area installation.
When professional installation makes the difference
Resin wall finishes reward skill. The material offers creative freedom, but preparation, moisture management, layer thickness and curing conditions all affect the final outcome. A professional installer can advise whether your existing walls are suitable, develop samples that work with your scheme and specify the right finish for a shower zone, bath surround or decorative feature wall.
For homeowners in Essex and London, Resinize approaches each bathroom as a surface-design project rather than a standard refit. The aim is not simply to conceal dated tiles. It is to craft a wall finish with the precision, durability and visual presence the room deserves.
A bathroom should feel considered when the door closes behind you. Start with a wall surface that supports the way you want the room to look, clean and live for years to come.