
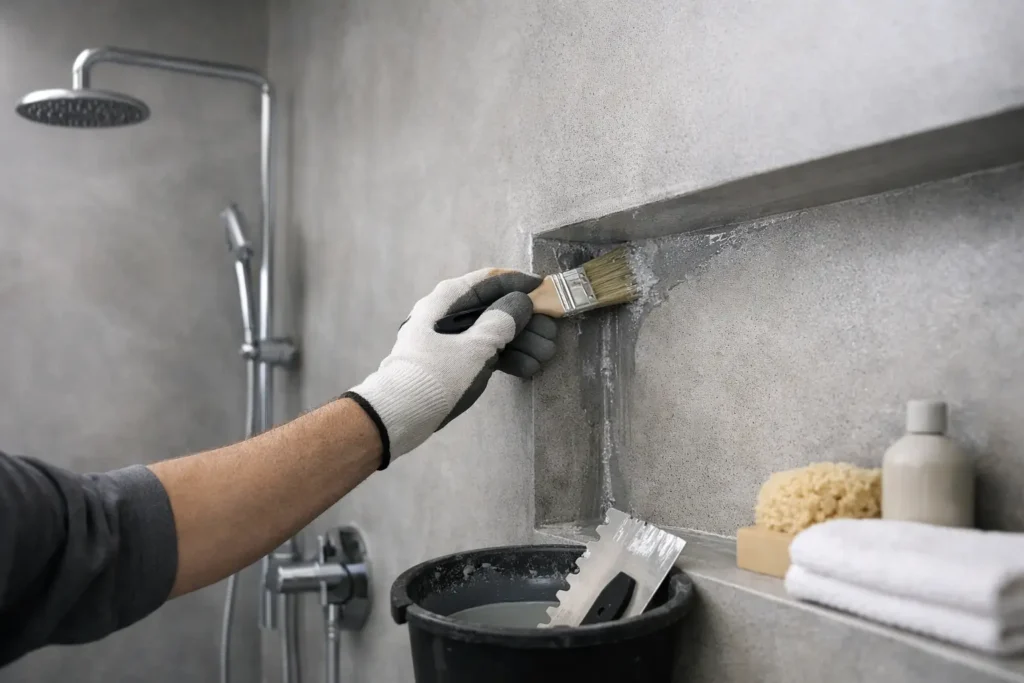
A resin wall can make a bathroom feel calmer, more architectural and far easier to clean than a room broken up by grout lines. Yet the polished final surface is only as dependable as the waterproofing beneath it. Knowing how to waterproof bathroom resin walls means treating the wall build-up as a complete system, not simply applying a glossy coating over an existing surface.
For a bathroom that looks exceptional and performs under daily steam, splashes and cleaning, preparation, junction detailing and material compatibility matter just as much as the chosen colour or decorative effect.
Start by defining the wet zone
Not every bathroom wall faces the same conditions. A feature wall behind a basin may only receive occasional splashes, while a shower enclosure is exposed to repeated direct water and sustained humidity. The latter needs a properly specified waterproofing system behind the resin finish.
This distinction affects the entire installation. Resin can create a highly water-resistant, seamless decorative surface, but it should not be expected to compensate for a damp, unstable or poorly prepared background. In a shower area, waterproofing should continue behind the finish and be carried into all corners, wall-to-floor junctions, niches and penetrations for valves or shower fittings.
A well-designed resin bathroom is therefore layered: a sound substrate, a waterproof barrier, compatible primers and resin coats, then a protective finish selected for the room’s use.
Choose a stable, suitable substrate
The substrate is where most long-term problems begin. Resin walls need a clean, dry, stable base with no movement, loose material or hidden moisture. Fresh plaster, crumbly render, damaged plasterboard and wall surfaces affected by rising damp all need addressing before any decorative work begins.
In high-water areas, moisture-resistant cement backer boards are often a more dependable foundation than standard plasterboard. They provide a firm, dimensionally stable surface and are better suited to receiving a tanking system. Board joints should be treated in accordance with the waterproofing specification, rather than filled as though they were simply cosmetic gaps.
Existing tiles can sometimes be overcoated, but only where they are firmly bonded, thoroughly degreased and suitably abraded. This may reduce demolition, though it can make the finished wall build-up thicker and demands careful consideration around trims, shower screens and fittings. If tiles are hollow, cracked or uneven, removal and substrate repair is usually the wiser route.
Before proceeding, investigate any sign of dampness. Peeling paint, staining, musty smells or a cold, persistently wet wall point to an underlying issue that resin should never be used to conceal.
How to waterproof bathroom resin walls in wet areas
For shower walls and other direct-wet zones, apply a dedicated tanking membrane before the resin system. Depending on the product specified, this may be a liquid-applied waterproof membrane or a sheet membrane. The right choice depends on the substrate, the wall geometry and the compatibility of every layer above it.
The waterproofing should form a continuous envelope. At internal corners and wall-to-floor transitions, use reinforcing tape or pre-formed corner components within the membrane system. These areas experience subtle movement and are the first places water can find a route behind a finish if detailing is rushed.
Pipe outlets, mixer valves, recessed shelves and shower niches deserve the same level of attention. Each interruption in the wall must be sealed using the appropriate collar, band or compatible detailing method. A beautiful uninterrupted resin finish is visually forgiving; it will not reveal the hidden weakness behind a poorly sealed valve opening until damage has already begun.
Allow the membrane to cure fully before moving to primer or resin. Drying times vary with product type, temperature and site conditions. A bathroom may feel dry, but trapped moisture within a substrate or uncured membrane can compromise adhesion and leave blistering, cloudiness or failure at a later date.
Use a resin system designed for bathroom conditions
There is no single resin product that suits every interior wall. Decorative epoxy systems can offer depth, movement and striking visual character, while polyurethane-modified finishes may offer useful flexibility and resistance to UV-related colour change. The correct specification depends on whether the wall is in a shower, how much natural light the room receives, the desired visual effect and the cleaning regime.
A typical build-up includes a compatible primer, one or more resin body coats and a protective topcoat. Each layer has a distinct job. The primer anchors the system to the prepared background; the body coat creates colour, texture or decorative movement; the topcoat provides the final protective layer and determines much of the finished sheen and cleanability.
Do not mix primers, membranes and topcoats from unrelated systems on the assumption that all resin products behave alike. Chemical compatibility is central to adhesion. Professional installers specify a proven build-up, rather than assembling materials from several manufacturers without confirmation that they are designed to work together.
For walls exposed to direct water, select a finish that is non-porous, easy to clean and appropriate for regular contact with water. A very textured decorative treatment may look dramatic, but a smoother finish is often more practical inside a shower enclosure because it gives soap residue and limescale fewer places to collect.
Detail the junctions, not just the flat walls
The broad wall faces are often the simplest part of the project. The quality of the waterproofing is really judged at edges, corners and interfaces with other materials.
Where resin meets a shower tray, bath, basin splashback, window reveal or tiled floor, allow for movement. Rigid coatings can crack if they bridge a changing junction without suitable reinforcement or a flexible sealant detail. The exact approach depends on the construction, but the principle remains the same: preserve the waterproof layer while allowing normal building movement.
Silicone sealant is not a substitute for tanking. It is a finishing and maintenance detail at exposed junctions. Choose a high-quality sanitary sealant in a colour that complements the resin, and ensure it adheres to both surfaces. In a design-led bathroom, a neat, considered sealant line protects the look as well as the fabric of the room.
If a shower screen or accessory is fixed through the finished wall, plan its location before installation. Drilling after completion introduces a potential water path. Any fixing should be properly sealed and, where possible, positioned to minimise unnecessary penetrations in the most heavily exposed areas.
Control the conditions during installation
Resin is sensitive to its working environment. Cold temperatures can slow curing, excessive heat can reduce working time, and humidity can affect some products’ appearance and performance. The room should be dry, ventilated and held within the temperature range required by the specified system.
Surface preparation must be equally precise. Dust, grease, soap residue and sanding debris can all interfere with adhesion. Professional application often involves mechanical abrasion, vacuum cleaning and methodical priming, rather than a quick wipe-down before coating.
It is also worth managing expectations around handmade finishes. Metallic, terrazzo-inspired and concrete-effect resin walls are crafted surfaces, not printed panels. Their variation is part of their appeal. Samples and visual references help establish the intended level of movement, tone and sheen before work begins, particularly where lighting changes dramatically from one side of a bathroom to the other.
Protect the finish after installation
Even a well-specified system needs the right curing period before it is exposed to daily bathroom use. Avoid turning on the shower, fitting accessories or allowing heavy condensation to build up until the installer confirms the final coat has cured sufficiently. Dry to the touch is not the same as fully cured.
Once in use, clean resin walls with a soft cloth or non-abrasive sponge and a pH-neutral cleaner. Harsh scouring powders, strong solvents and abrasive pads can dull or scratch the protective topcoat. Wiping down shower walls after use will also reduce limescale deposits, especially in hard-water areas.
Inspect sealant lines periodically. They are consumable details, particularly around showers and baths, and should be renewed if they become stained, split or detached. Prompt maintenance is far simpler than allowing water to travel behind an otherwise flawless resin wall.
When professional installation is the better choice
A resin wall may look minimal, but the installation is not a simple paint-on task. Shower waterproofing, moisture management, resin chemistry and fine decorative application all need to work together. This is particularly true in older homes, where uneven walls, existing tile layers and hidden damp can complicate the specification.
For homeowners in Essex or London creating a statement bathroom, a specialist consultation can clarify whether a seamless resin finish is right for the space and how it should be built. At Resinize, the aim is not merely to coat a wall, but to craft a finish with the depth, durability and detailing that a premium bathroom deserves.
The most successful resin bathrooms are planned from the substrate outwards. Give the waterproofing the same attention as the final colour and texture, and the result can remain calm, seamless and beautifully composed long after the room is finished.