
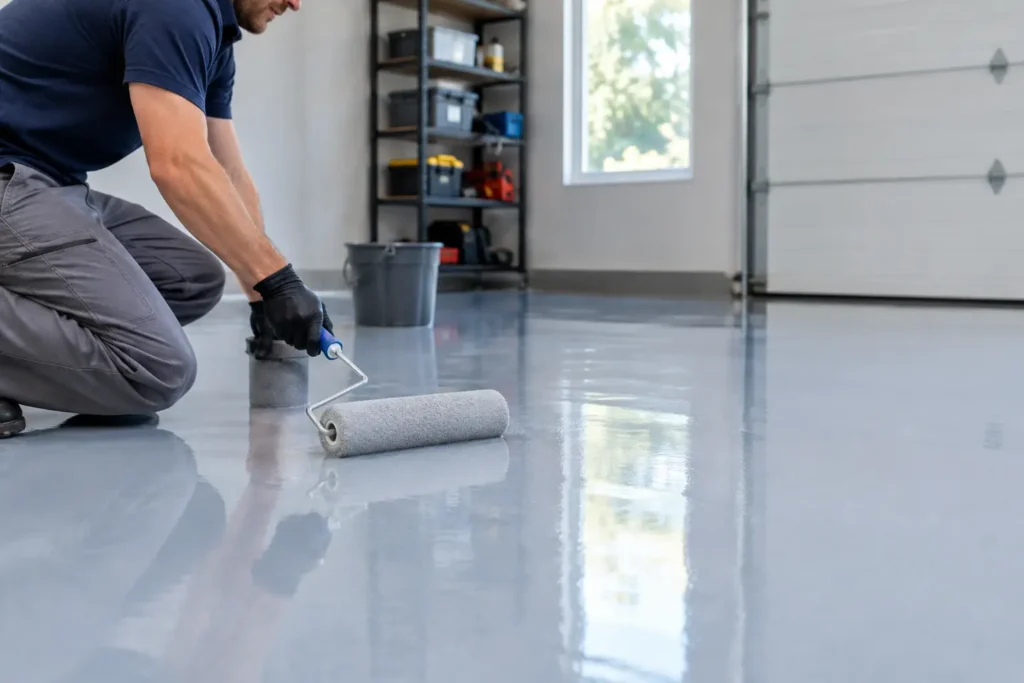
A newly poured resin floor can look finished long before it is ready to live on. That glossy, seamless surface may be dry enough to admire within hours, but epoxy floor drying time is about far more than whether it feels tacky. It is the period in which the material develops the strength, stability and refined finish that make it suitable for everyday life.
For a kitchen, hallway, garage or retail space, getting this timing right protects the investment. Moving furniture back too early, allowing heavy traffic, or exposing a floor to water before it has cured can leave marks that interrupt an otherwise beautiful result. A considered curing programme gives the surface time to become what it was designed to be: durable, easy to maintain and visually effortless.
Epoxy floor drying time is not one deadline
The phrase “drying time” is useful, but it can be misleading. Most epoxy systems do not simply dry through evaporation in the way paint does. They cure through a chemical reaction between the resin and hardener. As that reaction progresses, the coating moves through several practical stages.
A floor may become touch-dry first. This means the surface is no longer wet, but it is not yet suitable for shoes, dust sheets or installation traffic. It may then be ready for cautious foot traffic, followed by light use. Full cure comes later, when the coating has reached its intended hardness and chemical resistance.
For many decorative epoxy floors, careful foot traffic may be possible after around 24 hours in suitable conditions. Light furnishings often need 48 to 72 hours, while heavier furniture, appliances and normal domestic use may require several days. Full cure commonly takes around seven days, though some systems take longer and specialist fast-cure products may shorten the programme. The product specification and site conditions always take priority over a general rule of thumb.
This distinction matters particularly in design-led spaces. A metallic epoxy floor, terrazzo-inspired resin overlay or polished concrete-effect finish is created in layers, with colour, movement and depth built into the surface. Rushing the final stage risks compromising the clarity and craftsmanship that make the finish distinctive.
What affects epoxy floor drying time?
Every project has its own rhythm. The resin system is one factor, but the condition of the building can be just as influential. A professionally planned installation accounts for the whole environment rather than treating curing as an afterthought.
Temperature and humidity shape the cure
Epoxy performs best within its specified temperature range. In a warm, stable room, the chemical reaction can progress as intended. In a cold garage, unheated extension or damp commercial unit, curing can slow considerably. A floor installed during a chilly Essex or London winter may need more protection and time than the same finish installed in a climate-controlled interior.
High humidity can also affect the result, especially where condensation is possible. Moisture settling on a fresh coating may dull the sheen or interfere with the surface. Conversely, excessive heat can make resin cure too quickly, reducing the working time available to create an even, considered finish. Good installation is not about making epoxy cure at maximum speed. It is about controlling the conditions so it cures consistently.
The floor beneath matters
A resin floor is only as dependable as the substrate below it. Concrete must be properly prepared, clean and sufficiently dry before coating begins. Moisture vapour rising through a slab can cause adhesion problems, cloudiness or blistering if it is not identified and managed.
Preparation therefore affects the overall project timeline as much as the final coat. Grinding, repairs, priming and moisture control may be needed before the decorative layers are installed. This is not delay for its own sake. It is the technical groundwork behind a finish that remains smooth and secure under daily use.
Coating type, thickness and final finish
Not all epoxies behave alike. A thin protective coating for a utility area will have a different schedule from a multi-layer decorative system with a pigmented base, metallic effects and protective topcoat. Thicker applications can need longer between coats or before service, while some commercial systems are formulated for quicker return to use.
The final finish also has a role. A matt, satin or gloss topcoat may have specific recoat windows and curing requirements. Respecting these windows helps each layer bond correctly and allows the finished surface to achieve its intended depth of colour and durability.
A realistic epoxy floor drying time schedule
The best programme starts with a clear understanding of how the space will be used. A family kitchen may need a carefully coordinated installation window, while a warehouse or retail unit may need work planned around trading hours and equipment access.
As a broad guide, a newly applied floor should be left completely undisturbed during its initial set. Once the installer confirms it is safe, socks or soft-soled shoes may be appropriate for essential inspection. Avoid dragging anything across the floor, even if it feels firm. Grit caught under a shoe or a chair leg pulled into place can score a young coating surprisingly easily.
After the initial period, light foot traffic may be permitted, but this is not the same as returning the room to normal. Keep pets, children’s toys, deliveries and cleaning equipment away until the coating has gained more strength. Furniture should only return when advised, and felt pads should be fitted beneath legs before placement. Heavy items such as kitchen islands, machinery, vehicles or loaded shelving should wait until the recommended full cure stage.
For garages and commercial environments, vehicle traffic deserves special caution. Tyres create heat, weight and twisting forces, particularly when a vehicle turns while stationary. A coating that appears hard after a day or two may still be vulnerable to marking or pressure damage. Waiting for full cure is the safer choice and preserves the crisp, premium appearance of the floor.
Planning the room around the cure
The smoothest projects are planned backwards from the day the room needs to be operational. If a kitchen fitter, electrician, delivery team or shelving installer is due on site, their work should be scheduled after the relevant cure time, not simply after the resin has been poured.
It is also wise to remove as much disruption as possible before installation. Decide where occupants will walk, how appliances will be stored and whether access routes need protection. In commercial spaces, agree who controls entry to the area. One unexpected visit from a contractor can leave footprints in a finish that was otherwise progressing perfectly.
Ventilation can help maintain a stable environment, but open doors are not always the answer. A draughty space can introduce dust, insects and sudden temperature changes. The goal is clean, controlled airflow, not a room exposed to whatever the weather brings.
How a professional installation protects the finish
The curing period begins well before the final coat is applied. Accurate mixing, measured application rates, careful edge work and attention to ambient conditions all contribute to a more predictable outcome. A specialist installer will also consider the practical details that clients may not see: substrate readings, primer compatibility, intercoat timing and the condition of the room throughout the work.
This is particularly valuable when the floor is intended as a feature rather than a purely functional covering. Decorative resin has an artistic quality, but its visual impact depends on technical precision. The reflective movement in a metallic finish or the subtle aggregate effect in a terrazzo-inspired surface should feel intentional from every angle.
At Resinize, the installation programme is part of crafting that final effect. It allows the design, materials and building conditions to work together, rather than asking a beautiful surface to perform before it is ready.
When not to rush the process
There are moments when a longer wait is the sensible decision. If the room is colder than expected, if humidity rises, or if the concrete substrate presents moisture concerns, extending the curing period may protect both appearance and performance. The same applies when a project involves several resin layers or a demanding commercial specification.
Trying to force the process with unsuitable heaters can create fresh problems. Uneven heat may lead to inconsistent cure, while direct heat sources can affect the coating surface. Any environmental control should follow the product guidance and be managed carefully.
A resin floor is designed to make a space feel more complete: cleaner lines, uninterrupted colour and a finish with real presence. Give it the time its system requires, and the first proper step across it will feel less like the end of a wait and more like the beginning of a transformed room.