
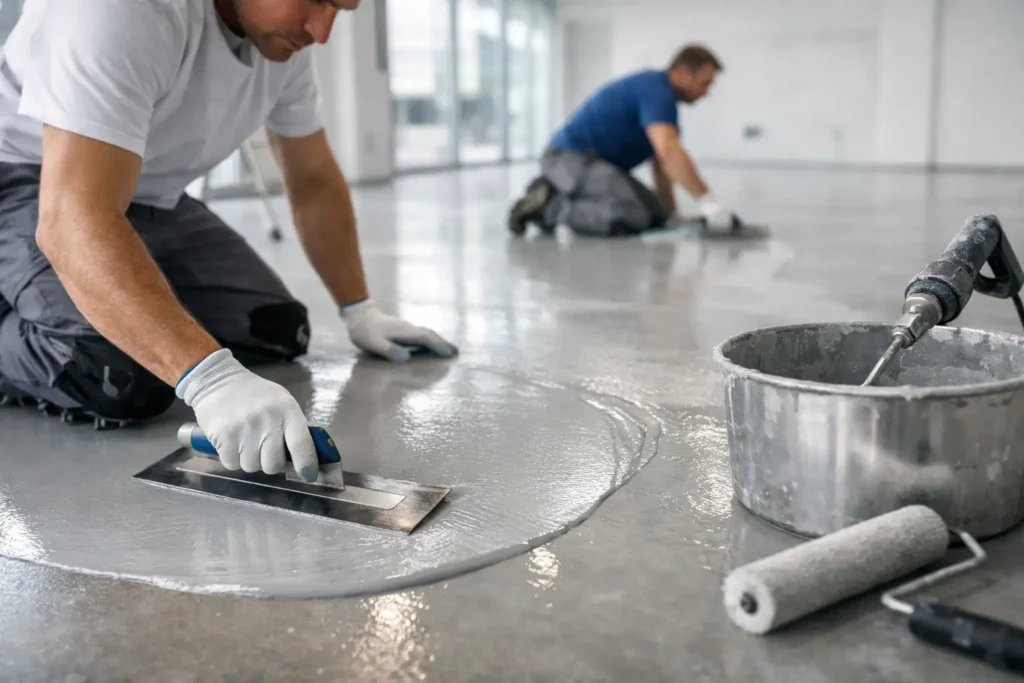
A resin floor can look effortless when it is finished well – smooth underfoot, visually striking and built to handle daily life. What most people do not see is how much of that result depends on the resin floor installation process long before the final coat goes down. The quality of the substrate, the timing between layers and the finish selected all shape how the floor performs and how it feels in the space.
For homeowners and commercial clients alike, that matters. A resin surface is not simply a coating poured on top of an old floor. It is a crafted system, built in stages, with each stage affecting durability, appearance and longevity. If you are planning a kitchen refurbishment, upgrading a garage, or specifying a statement finish for a retail interior, it helps to understand what actually happens on site.
Why the resin floor installation process matters
The appeal of resin is easy to see. It creates a seamless finish, can be tailored in colour and texture, and works just as well in practical settings as it does in design-led interiors. But resin is only as good as the groundwork beneath it.
A beautifully specified finish can still fail if the substrate contains moisture, if surface preparation is rushed, or if the wrong system is used for the environment. A domestic bathroom, for instance, needs a very different balance of slip resistance and visual softness than a warehouse or workshop. Good installation is not just technical competence. It is knowing how to match the system to the space.
Stage 1: Site assessment and specification
Every successful project begins with a close look at the existing floor and the way the room will be used. This is where practical performance and design ambition meet.
The installer will usually assess the substrate, looking for cracks, laitance, contamination, unevenness and moisture levels. Concrete, sand and cement screed, timber-based substrates and tiled surfaces can all require different preparation methods. In older properties, movement and hidden inconsistencies are often part of the conversation too.
This is also the stage where the finish is specified. Some clients want a calm, concrete-effect surface that sits quietly within a scheme. Others want terrazzo-inspired detail, metallic depth or a decorative epoxy finish with more visual movement. The desired look affects the product build-up, thickness and number of coats involved.
Stage 2: Preparing the substrate
Preparation is where most of the real work happens. If the floor is not sound, clean and correctly profiled, resin will not bond as it should.
In many cases, the existing substrate is mechanically prepared by grinding or shot blasting. This removes weak material, opens the surface and creates the key needed for adhesion. Dust is then removed thoroughly, because even fine residue can interfere with bonding.
Repairs are dealt with before the resin system begins. Cracks may need chasing out and filling. Holes, low spots and damaged edges are corrected with suitable repair compounds. Where levelling is required, a smoothing layer may be applied to create a consistent base.
This stage can feel less glamorous than choosing colours or finishes, but it is the foundation of everything. A seamless floor only looks refined if the surface beneath it has been disciplined first.
Stage 3: Priming the floor
Once the substrate is ready, primer is applied. This helps the resin system bond to the base and can also assist with sealing porosity and controlling air release from the substrate.
Not every floor needs the same primer. A dense concrete slab behaves differently from a porous screed, and moisture conditions can change the specification again. In some settings, a damp-tolerant or moisture-control primer may be needed if readings indicate elevated moisture content.
Timing matters here. Primers usually need to cure within a certain window before the next layer is applied. Too early and the system may be unstable. Too late and the next coat may not achieve the intended bond without further preparation.
Stage 4: Base coats and build-up
This is the point at which the floor begins to take shape. Depending on the chosen system, one or more base coats are installed to create body, strength and visual consistency.
For a practical commercial coating, the build-up may be relatively straightforward – a primer, body coat and seal. For a more decorative interior finish, there may be additional layers to create depth, tone variation or aggregate effects. Some systems incorporate fillers or graded sands to adjust thickness, slip resistance or impact strength.
The right thickness depends on use. A utility space or garage may benefit from a more hard-wearing system designed for heavier wear. A domestic living area may prioritise elegance, comfort underfoot and a refined matte or satin appearance. Neither is better in absolute terms. It depends on the balance between performance and design.
Stage 5: Decorative elements and design detailing
This is where resin becomes more than a practical flooring material. It becomes part of the interior language of the space.
If the specification includes decorative epoxy, metallic movement, flake systems or terrazzo-inspired detail, those effects are created during the middle stages of installation. The technique must be tightly controlled. Too much variation can feel chaotic. Too little can flatten the character of the finish.
Colour selection also needs care. Resin behaves differently from painted surfaces or porcelain tiles because light moves across it in a continuous way. Mid-tones can feel expansive and calm. Deeper shades can be dramatic, but they may show dust more readily in some environments. Lighter finishes often make smaller rooms feel larger, though they need enough warmth to avoid appearing clinical.
This is one of the reasons sample-led decisions are so valuable. The final effect is not just about picking a swatch. It is about how that finish will sit with the architecture, lighting and use of the room.
Stage 6: Topcoat application
The topcoat protects the system and defines much of its final appearance. Matte, satin and gloss options each shift the mood of the floor, and different sealers can influence stain resistance, UV stability and cleaning performance.
In kitchens, bathrooms and entrance areas, ease of maintenance is often high on the priority list. In commercial settings, chemical resistance, abrasion performance and slip characteristics may matter more. There is rarely a single best topcoat for every project.
Slip resistance is a good example of that trade-off. A more textured finish can improve grip, which is useful in wet or heavily trafficked areas, but more texture can also slightly change the cleaning experience and visual softness. The right answer depends on the room and the people using it.
Stage 7: Curing and handover
Even after the final coat has been applied, the installation is not quite finished. Resin needs time to cure properly.
Light foot traffic may be possible within a relatively short period, depending on the product used and site conditions, but full chemical and mechanical cure usually takes longer. Temperature and humidity affect this. A floor installed during colder weather may need more time before it reaches its full performance.
This part of the process is sometimes underestimated. Bringing furniture back too soon, exposing the floor to moisture too early, or allowing heavy traffic before the cure is complete can compromise the finish. Clear aftercare guidance is part of a professional handover.
What can affect timelines?
Clients often ask how long a resin floor takes to install. The honest answer is that it varies.
A small domestic room in good condition may move quickly if the substrate is sound and the specification is straightforward. Larger spaces, older floors, moisture issues, extensive repairs or decorative multi-layer finishes naturally add time. The drying and curing intervals between coats also need to be respected rather than compressed.
That can feel frustrating if you are eager to see the finished room, but patience is part of craftsmanship. The best resin floors are not rushed into place. They are built carefully so they keep their appearance and integrity for years.
Why expertise makes such a difference
The resin floor installation process is technical, but the best results never feel purely technical. They feel considered. The surface sits beautifully within the room, performs as it should, and makes the whole interior feel more resolved.
That is why experience matters so much. An expert installer is not just laying product. They are reading the substrate, controlling environmental conditions, understanding product compatibility and translating a design brief into a finish with presence and precision. For clients across Essex and London, that blend of artistry and discipline is often what separates a floor that merely covers a surface from one that transforms it.
If you are weighing up resin for your home or commercial space, ask about the process as much as the finish. The visual impact is what first captures attention, but it is the unseen preparation and careful sequencing that give a resin floor its confidence. When each stage is handled properly, the end result does more than look polished – it feels intentional from the ground up.